
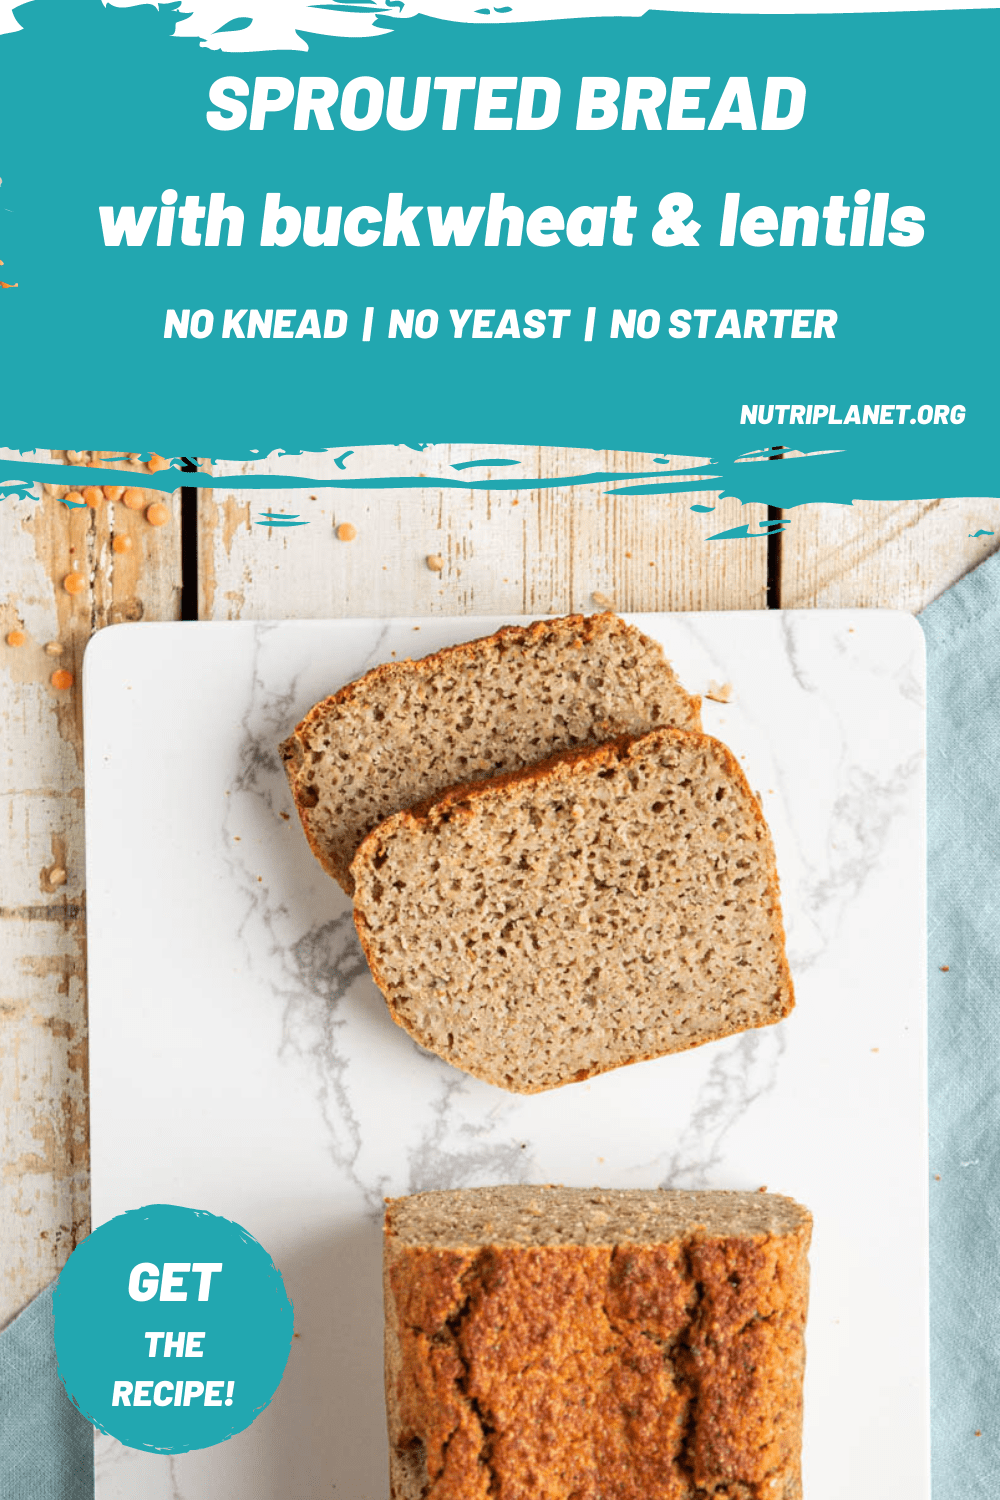
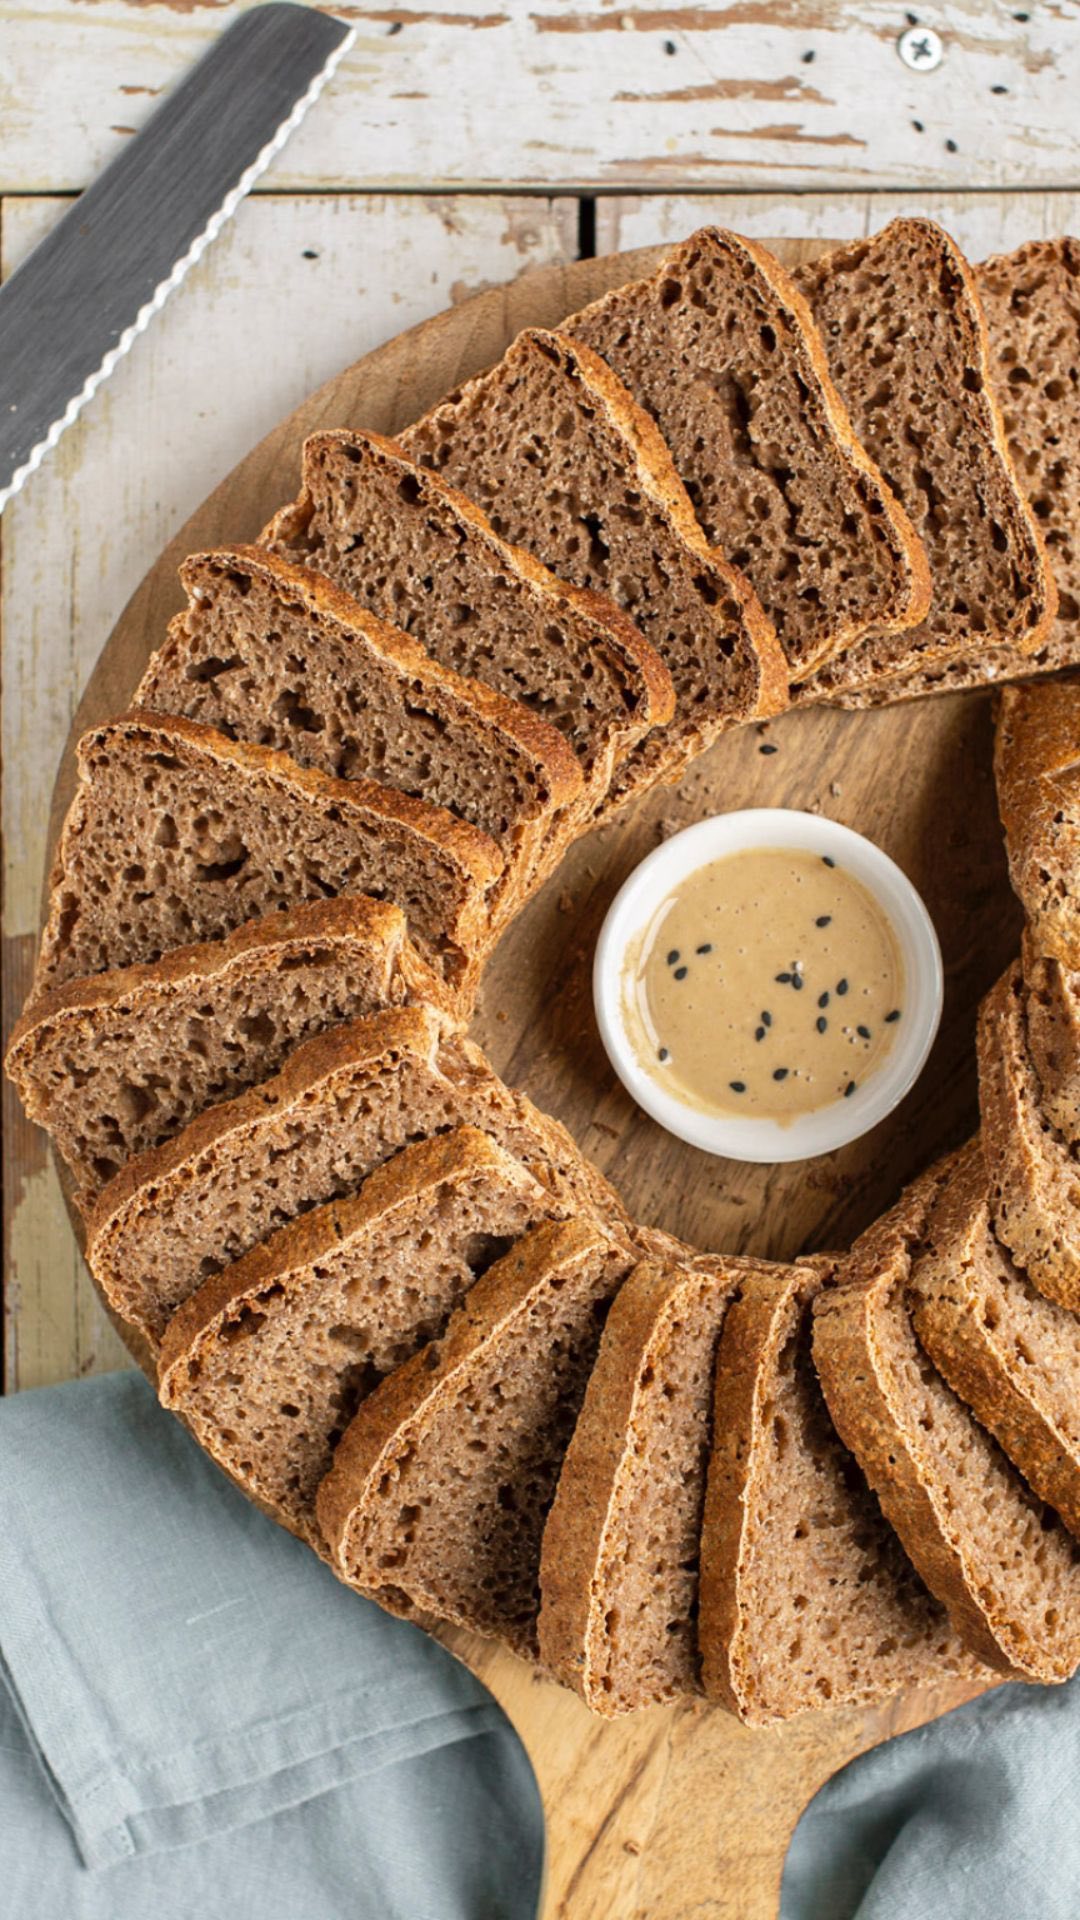
Learn how to make gluten-free sprouted bread with buckwheat and red lentils. This bread is also a no flour and no yeast recipe. Furthermore, you won’t need any starter either.
What I love about this recipe:
- It’s a simple no starter and no knead bread suitable for beginners.
- Super low glycemic bread.
- Keeps well in the fridge and freezer.
My sprouted bread recipe is vegan and plant-based, gluten-free, soy-free, no knead, flourless, low glycemic, nut-free, peanut-free, low-fat, oil-free, and vegan Candida diet friendly.
Table of contents

Sprouted Bread with Buckwheat and Lentils
The good news is that you don’t have to be an experienced bread baker to make this bread. Instead, it’s fine if you’re just starting out with experimenting with homemade bread recipes.
The Ingredients
The list of ingredients will be very short for this recipe!
Usually, gluten-free bread recipes utilise some sort of gluten-free flour or mix of flours. For example, brown rice flour, millet flour, or sorghum flour. In addition, very often binders come into play as well, e.g. xantham gum or psyllium husks.
My recipe is different. Instead of flour I use whole raw buckwheat groats and red lentils. They will be soaked, sprouted, and then blended into batter.
Himalayan salt is the second most important ingredient. Without it, the bread would simply taste blunt.
Next, I’m adding some date syrup to feed the friendly bacteria in the batter that will make it come alive! Instead of date syrup, you can also use date paste, maple syrup, molasses, or even honey.
Finally, I’m including some dried oregano for extra flavour. Aa simple as that!
The Process
It takes about 10 hours for the bread to be ready, but the active prep time is only about 15 minutes. Add additional 24 hours if you decide to make sprouted bread.
Soaking
This sprouted bread starts with pouring raw buckwheat groats and red lentils into a large bowl and soak them in water for at least 4-6 hours. However, overnight is equally fine. Add enough water to keep them covered.
After soaking, take a large sieve and thoroughly rinse the groats under running water. You’ll notice that the water is quite slimy. Not to worry though as it’s normal. In case you’ve soaked raw buckwheat before, this will not be a surprise to you at all.
Now, place the sieve in the mouth of a large bowl to let it drain completely. It may take a few minutes.
It’s worth mentioning that soaking reduces the phytates (anti-nutrients) in grains so that the minerals become better absorbed and the grains easier to digest. If you’re interested to learn more, go to Science-Backed Food Combining Rules.
Sprouting (optional)
Next, you may go the extra mile and sprout the grains before moving forward with the recipe. However, this is absolutely not mandatory. You may move on to the next step if you’re in a hurry or feel that this is not your cup of tea.
Sprouting has been shown to reduce phytates even further and to increase the bioavailability of nutrients. Furthermore, it lowers the glycemic load of grains and legumes significantly.
In order to sprout the soaked buckwheat and quinoa simply leave them in the sieve in the mouth of a large bowl and cover with clean kitchen cloth. 24 hours should be enough for the buckwheat to have visible sprouts and lentils tinier ones.
Make sure to rinse the groats with cold water several times during those 24 hours. Otherwise, you might have mould developing. To be absolutely certain, you may divide the groats between two large sieves. This way you have more air flowing between them. Learn more from How to Sprout Buckwheat.
Do not let the sprouts grow too long though, as this would change the properties of buckwheat and lentils too much. You may end up with a watery bread.
Blending and Fermentation
Next step in this sprouted bread recipe is to take your soaked (or sprouted) groats and lentils and transfer them into a large glass or ceramic bowl. Metal bowl will interfere with fermentation process.
Next, add filtered water, salt, and date syrup. Process with either regular blender or an immersion blender. I’d suggest choosing an immersion blender as your tool. It’s because I’ve found it easier to handle – my regular blender struggles with processing such a thick mass and it’s therefore difficult to get a homogenous batter.
In case you’re using Vitamix, be careful not to over-blend the mixture as you might end up with a bread that’s too dense. Check the consistency from the video.
After blending, cover the bowl with a plastic or a clean kitchen cloth and place it onto your kitchen counter or warm oven (30-35°C).
Now, the time needed for fermentation can vary a lot. In warm oven, it’ll take 5-7 hours, after which your batter should have risen quite a lot and you should see bubbles throughout the batter. However, at room temperature it can even take up to 24 hours depending on the actual temperature. Again, check the video for visuals.
Be careful not to ferment the batter for too long though. If it smells foul, I’d suggest you throw it out. You’ll learn what is the maximum time for fermentation in your kitchen by trial and error. However, in the beginning I suggest you follow the timeframe given in this recipe and observe the batter from time to time to catch the state you see in my video.
In case you batter is ready, but you can’t bake it right away, place the bowl in the fridge where it will be fine for overnight for example. In fact, this is what I did with the bread in the video.
Mixing and Baking
The next step after fermentation is to gently fold in dried oregano. Try to avoid vigorous movements not to mess with the fluffiness of the batter. The mixing is necessary because the batter is thicker on top and has some liquid in the bottom.
You may add other spices and herbs. For example, thyme, rosemary or even cinnamon and cardamom. Seeds like sunflower seeds, hemp seeds and pumpkin seeds would also be a great addition.
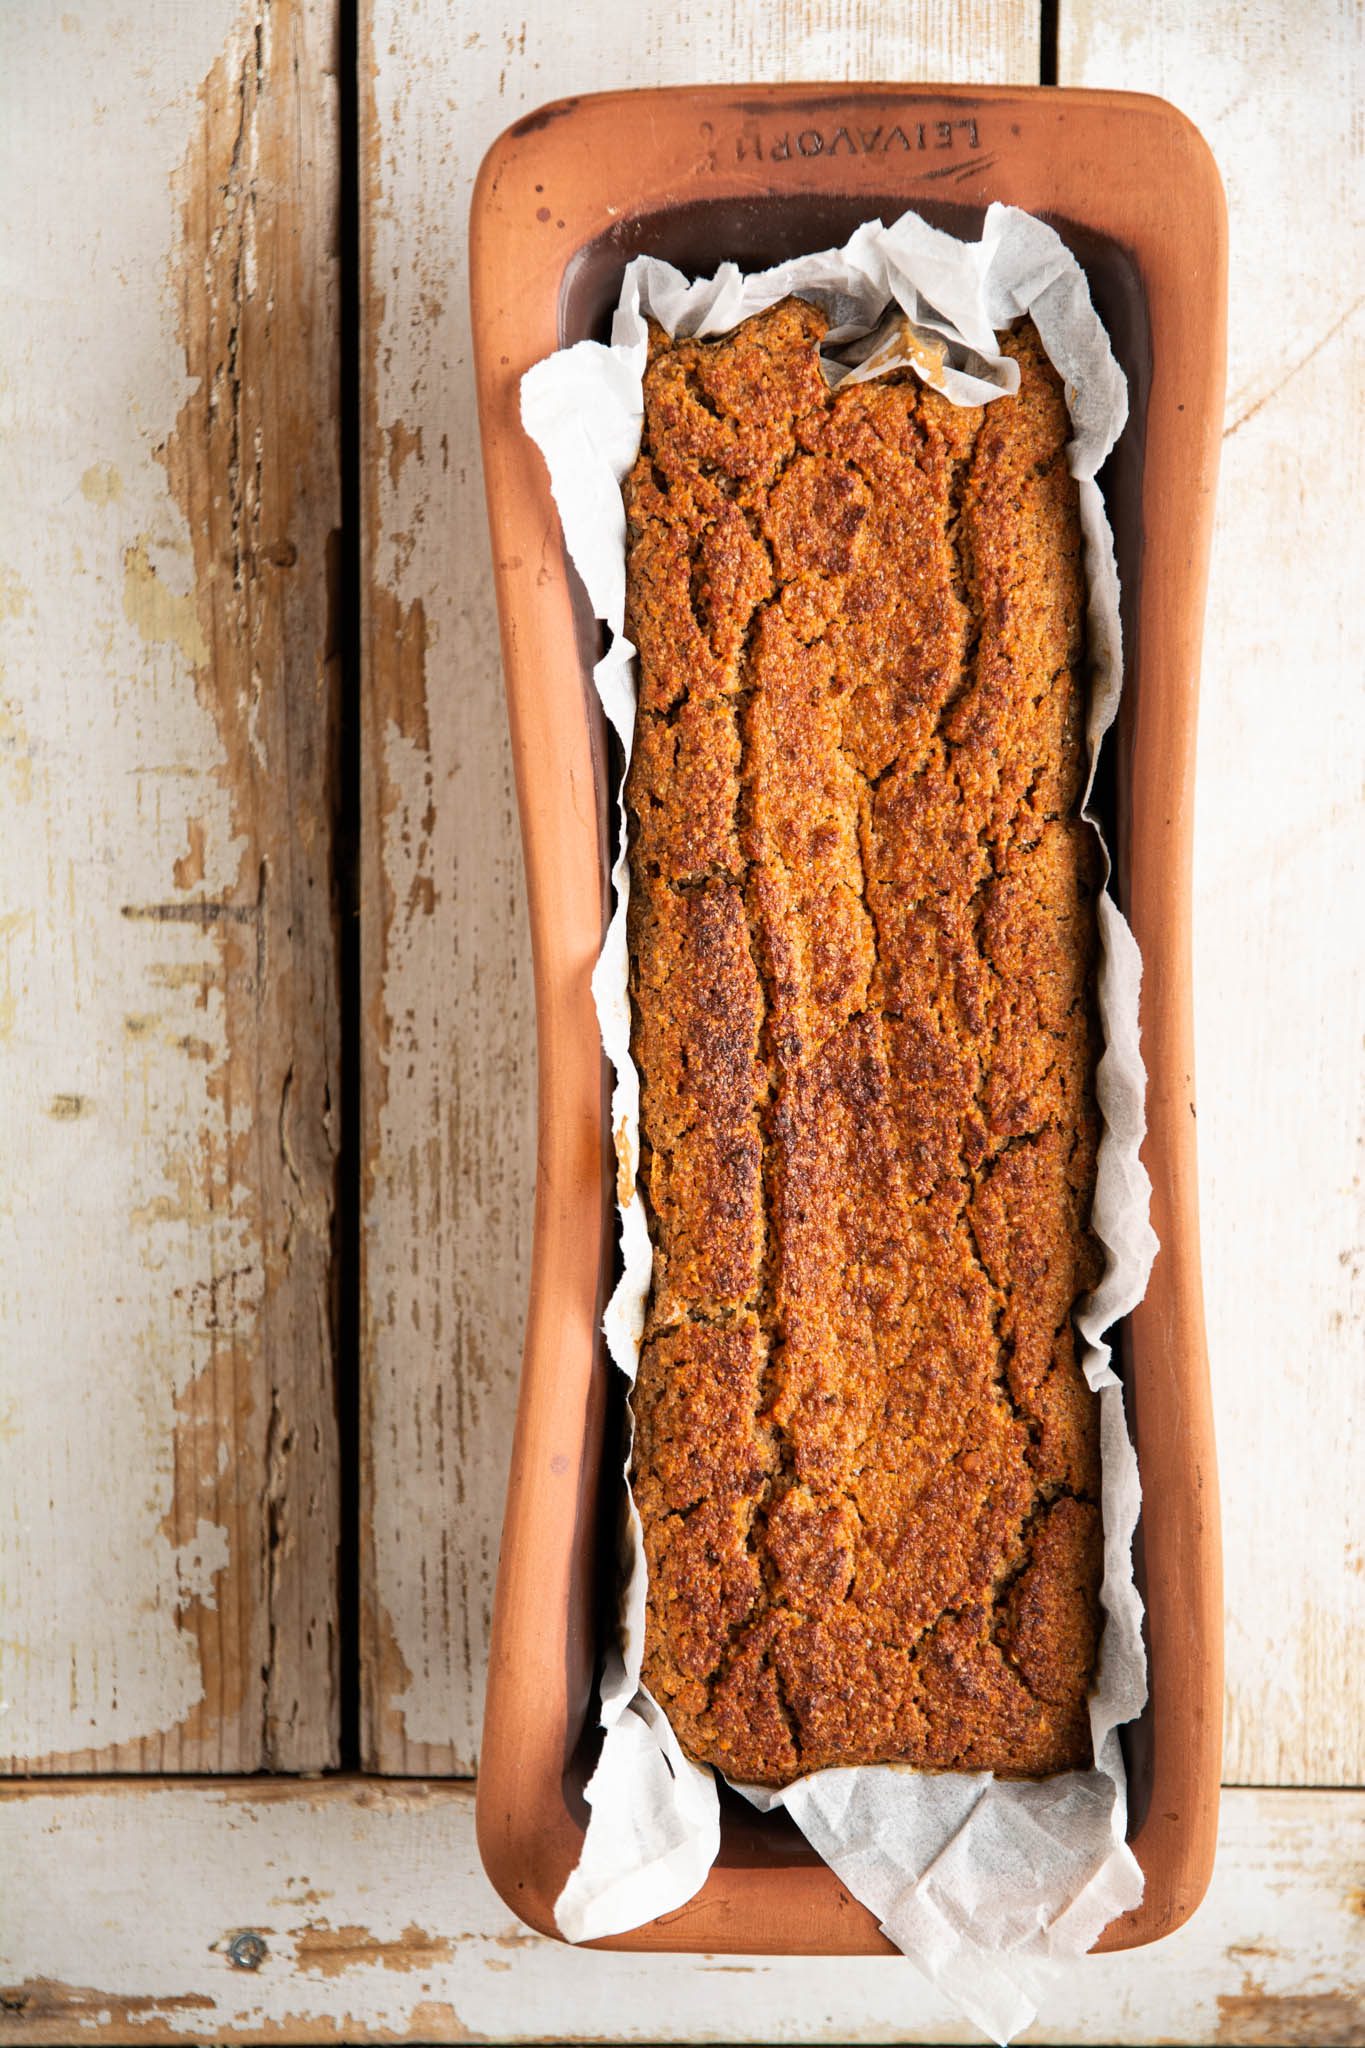
Now, pour the batter into bread tin lined with parchment paper. I used my handmade ceramic loaf (27x9cm, 10.6×3.5inch) which is not standard. I’d say you can go for 25x9cm (9.8×3.5inch) bread tin.
After pouring the batter into bread tin, you can put it into oven straight away. Now, pay attention – put the bread into cold oven, close the door and turn the heat onto 175°C (350°F). Make sure NOT to use the fast heat function and NOT to have the grill on. Set the timer to 1 hour and 15 minutes and wait.
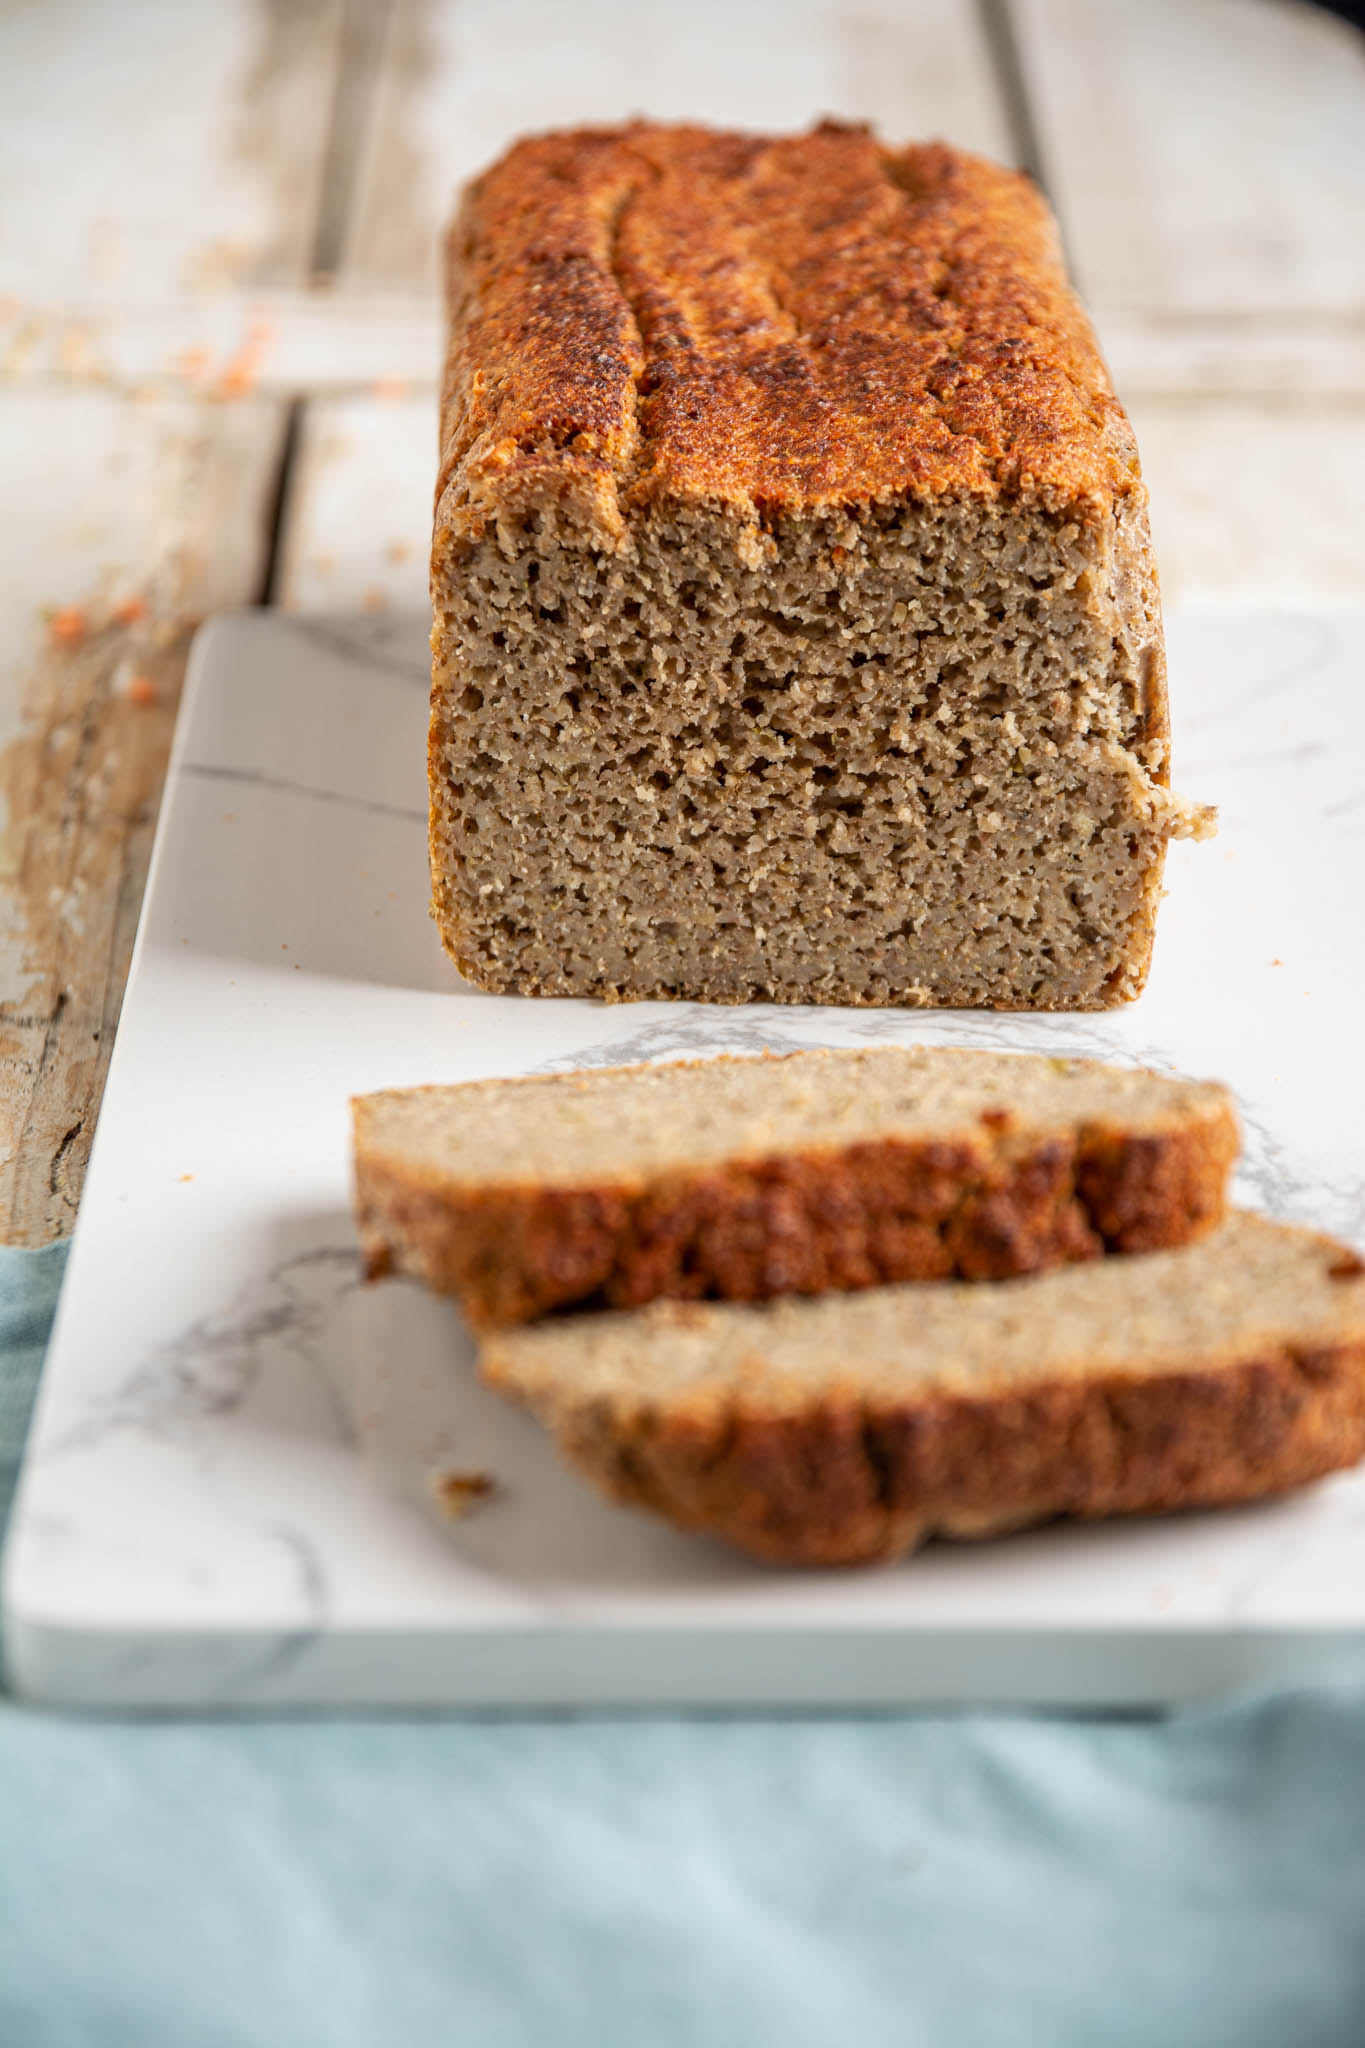
When the time is up, open the oven door and tap onto the crust of the bread with your finger. The bread is ready if it sounds hollow.
Lift the sprouted bread out of the tin and let it cool completely before slicing. This takes about an hour. Should you be extra impatient, 30 minutes is the minimum you ought to be able to wait.
How to Store Sprouted Bread
When the bread is cooled wrap it into a clean kitchen towel and stick it into a plastic bag to prevent losing too much moisture. It keeps well on countertop for 2 days and 7 days in the fridge.
For longer keeping slice the bread up as soon as it’s cooled and store the individual slices in the freezer. Heat them up in a microwave (for soft result) or in oven or toaster (for crunchy slices).
In order to toast the frozen sourdough bread slices in the oven, place them onto the rack (not on a baking sheet), set the oven to fast heat function (175°C, 350°F is enough) and timer to 10 minutes. When the time’s up, you’ll have fresh and crispy bread ready to enjoy.
How to Serve
In my experience, freshly baked sourdough bread is so damn good that you don’t even need anything to accompany it with. However, should you disagree, here are some ideas:
Spread the bread with avocado, nut or seed butter (tahini, almond butter, peanut butter, cashew butter), homemade applesauce, hummus, homemade vegan mayonnaise, or even sweet buckwheat ricotta.
In addition, top it with red cabbage coleslaw, sauerkraut, kimchi, tofu or tempeh slices, or vegan egg salad.
You can use a few or many of the options mentioned above and build an epic healthy vegan sandwich.
All the visual learners, watch the below tutorial video on how to make this sprouted bread:

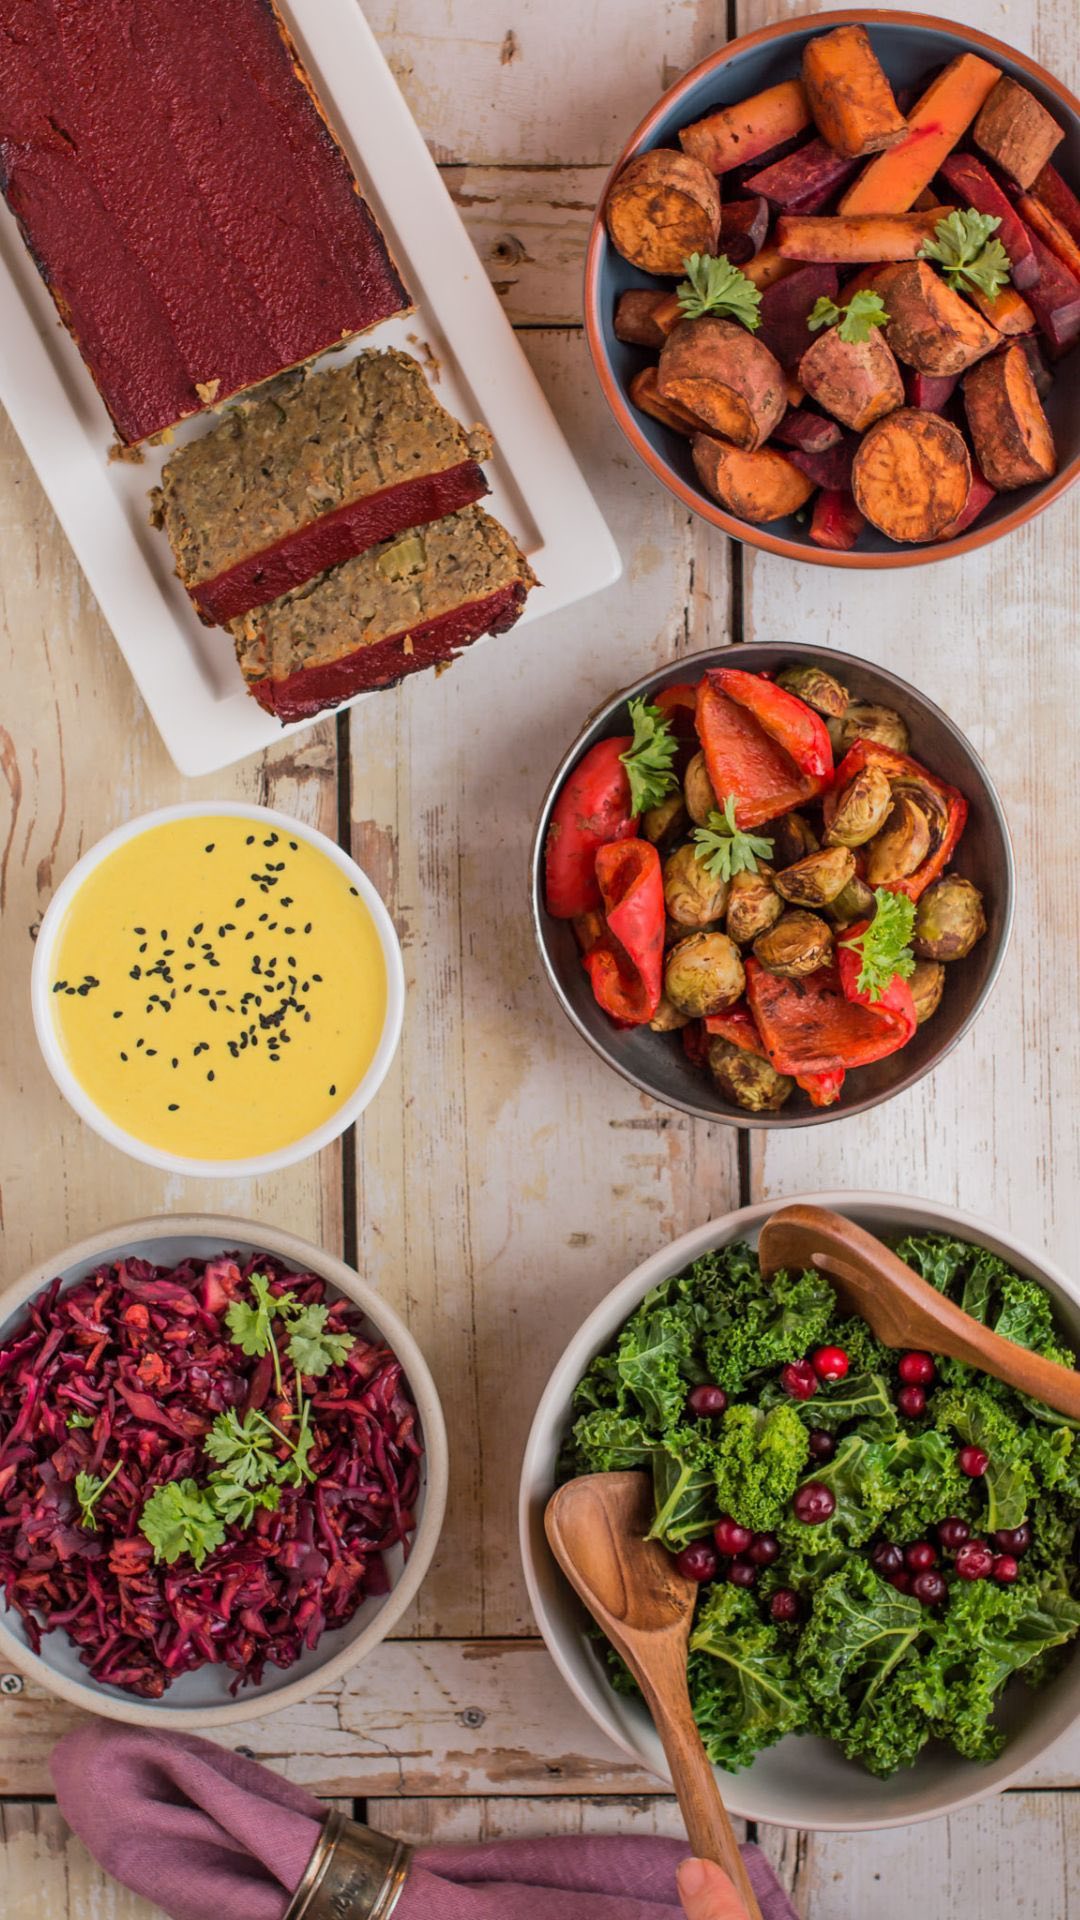
Step-by-step visual guide to building your own balanced bowls.
Sprouted Bread with Buckwheat and Lentils
- Total Time: 10 hours
- Yield: 22 slices 1x
- Diet: Vegan
Description
Learn how to make gluten-free sprouted bread with buckwheat and red lentils. This bread is also a no flour and no yeast recipe. Furthermore, you won’t need any starter either.
Soaking time: 4-6 hours
Fermentation time: 5-24 hours (depending on the temperature)
Ingredients
- 285g (10.05oz) raw buckwheat groats
- 140g (4.9oz) whole red lentils (not split)
- 3/4 tsp. Himalayan salt (1/2 + 1/8 tsp. for Plantricious version)
- 1 tbsp. date syrup
- 240g (8.5oz) filtered water + water for soaking
- 2 tbsps. dried oregano
Instructions
Soaking
- In a large bowl, soak raw buckwheat groats and red lentils for at least 4-6 hours. However, overnight is equally fine. Add enough water to cover the groats and lentils bearing in mind that they will expand significantly.
- After soaking, take a large sieve and thoroughly rinse the groats under running water. You’ll notice that the water is quite slimy. Not to worry though as it’s normal.
- Now, place the sieve in the mount of a large bowl to let it drain completely. It may take a few minutes.
Sprouting (optional)
- Simply leave the soaked buckwheat and lentils in the sieve in the mouth of a large bowl and cover with clean kitchen cloth. 24 hours should suffice for the buckwheat to have visible sprouts and lentils to have tiny ones.
- Rinse the groats and lentils with cold water several times during those 24 hours. Otherwise, you might have mould developing. To be absolutely certain, you may divide the groats between two large sieves. This way you have more air flowing between them. Learn more from How to Sprout Buckwheat.
Blending and Fermentation
- Take your soaked groats and lentils and transfer them into a large glass or ceramic bowl. Metal bowl will interfere with fermentation process.
- Next, add salt, date syrup, and filtered water and process with either a regular blender or an immersion blender. I’d suggest choosing an immersion blender as your tool. It’s because I’ve found it easier to handle. In case you’re using Vitamix, be careful not to over-blend the mixture as you might end up with a bread that’s too dense.
- After blending, cover the bowl with a plastic or a clean kitchen cloth and place it onto your kitchen counter or into warm oven (30-35°C)
- Now, the time needed for fermentation can vary a lot. In warm oven, it’ll take 5-7 hours, after which your batter should have risen quite a lot and you should see bubbles throughout the batter. However, at room temperature it can even take up to 24 hours depending on the actual temperature. Check the video for visuals.
- Be careful not to ferment the batter for too long though. If it smells foul, I’d suggest you throw it out. You’ll learn what is the maximum time for fermentation in your kitchen by trial and error. However, in the beginning I suggest you follow the timeframe given in this recipe and observe the batter from time to time to catch the state you see in my video.
Mixing and Baking
- Now, gently fold in oregano. Try to avoid vigorous movements not to mess with the fluffiness of the batter. The mixing is necessary because the batter is thicker on top and has some liquid in the bottom.
- Next, pour the batter into bread tin lined with parchment paper. I used my handmade ceramic loaf (27x9cm, 10.6×3.5inch) which is not standard. I’d say you can go for 25x9cm (9.8×3.5inch) bread tin.
- Put the bread into cold oven, close the door and turn the heat onto 175°C (350°F). Make sure NOT to use the fast heat function and NOT to have the grill on. Set the timer to 1 hour and 15 minutes and turn on the oven.
- When the time is up, open the oven door and tap onto the crust of the bread with your finger. The bread is ready if it sounds hollow.
- Remove from the oven, lift the bread from the baking tin, and place onto a chopping board for cooling. Let the bread cool completely before slicing into it. This takes about an hour. Should you be extra impatient, 30 minutes is the minimum you ought to be able to wait.
Notes
Instead of date syrup, you can use store-bought date paste or homemade date paste, molasses, maple syrup, or even honey.
If your sprouts have grown enough, but you can’t blend the batter right away, transfer them into a bowl, cover and store in the fridge until you have time.
The same goes for fermented batter – if you see that it doesn’t need any more time to ferment, move the bowl in the fridge. It can stay there overnight and wait for being baked.
Nutritional data is given for Plantricious version. Bear in mind that the carbohydrate content doesn’t take sprouting or fermentation process into account. So, the count is probably lower than shown below.
- Prep Time: 15 minutes
- Cook Time: 1h 15min
- Category: Bread
- Method: Oven
Nutrition
- Serving Size: 1 slice (1/22 of the recipe)
- Calories: 73 kcal
- Sodium: 64.79mg
- Fat: 0.6g
- Saturated Fat: 0.1g
- Carbohydrates: 14.6g
- Fiber: 2.2g
- Protein: 3.4g
Disclosure: this post contains affiliate links. As an Amazon Associate I earn from qualifying purchases. For every purchase made from the links in this post, you’ll be able to support my work. So you can look after your health, and contribute to my mission at the same time. Thank you!
Feel free to PIN the below image!


I don’t think I can find whole red lentils. What about using brown lentils? Do you think it may work?
Hi! I think I answered this on Instagram, right? 🤗
Thank you very much for this recipe, Nele! I have been looking for a good buckwheat bread recipe and this one was wonderful! It was super easy. I liked the taste and consistency of it and it made a nice toast. I personally found the oregano quite strong and couldn’t eat it plain, though I usually have no problem with oregano. I think next time I’ll try an Italian seasoning blend instead of just the one herb or maybe even some garlic for a garlic bread…many possibilities. Thank you again for the recipe!:)
I’m so glad to hear that Eileen! Yes, definitely play with the herbs! 🤗
Have you ever tried adding baking powder to make it rise a bit? My loaves don’t fill a tin
Hi! The fermentation process makes it rise — it rises as it ferments and them more in the oven. The batter should be bubbly when you bake it. Make sure to check the video https://youtu.be/eoEpi6y_ppM Maybe it wasn’t fermented enough when you baked it? Or maybe you have an enormous tin 😊