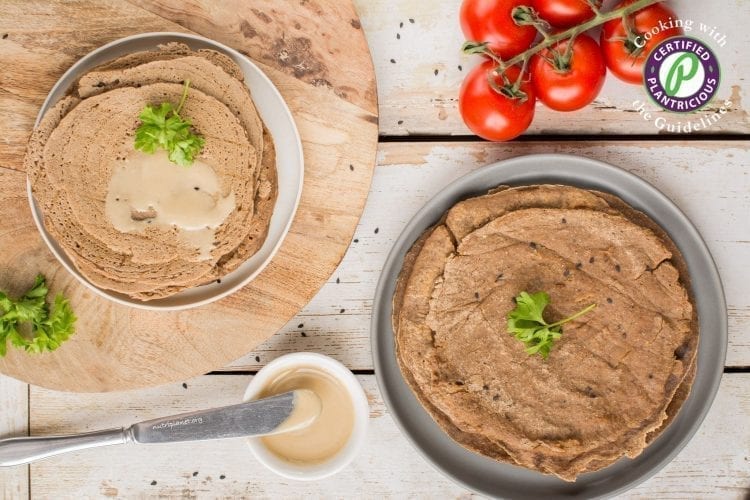
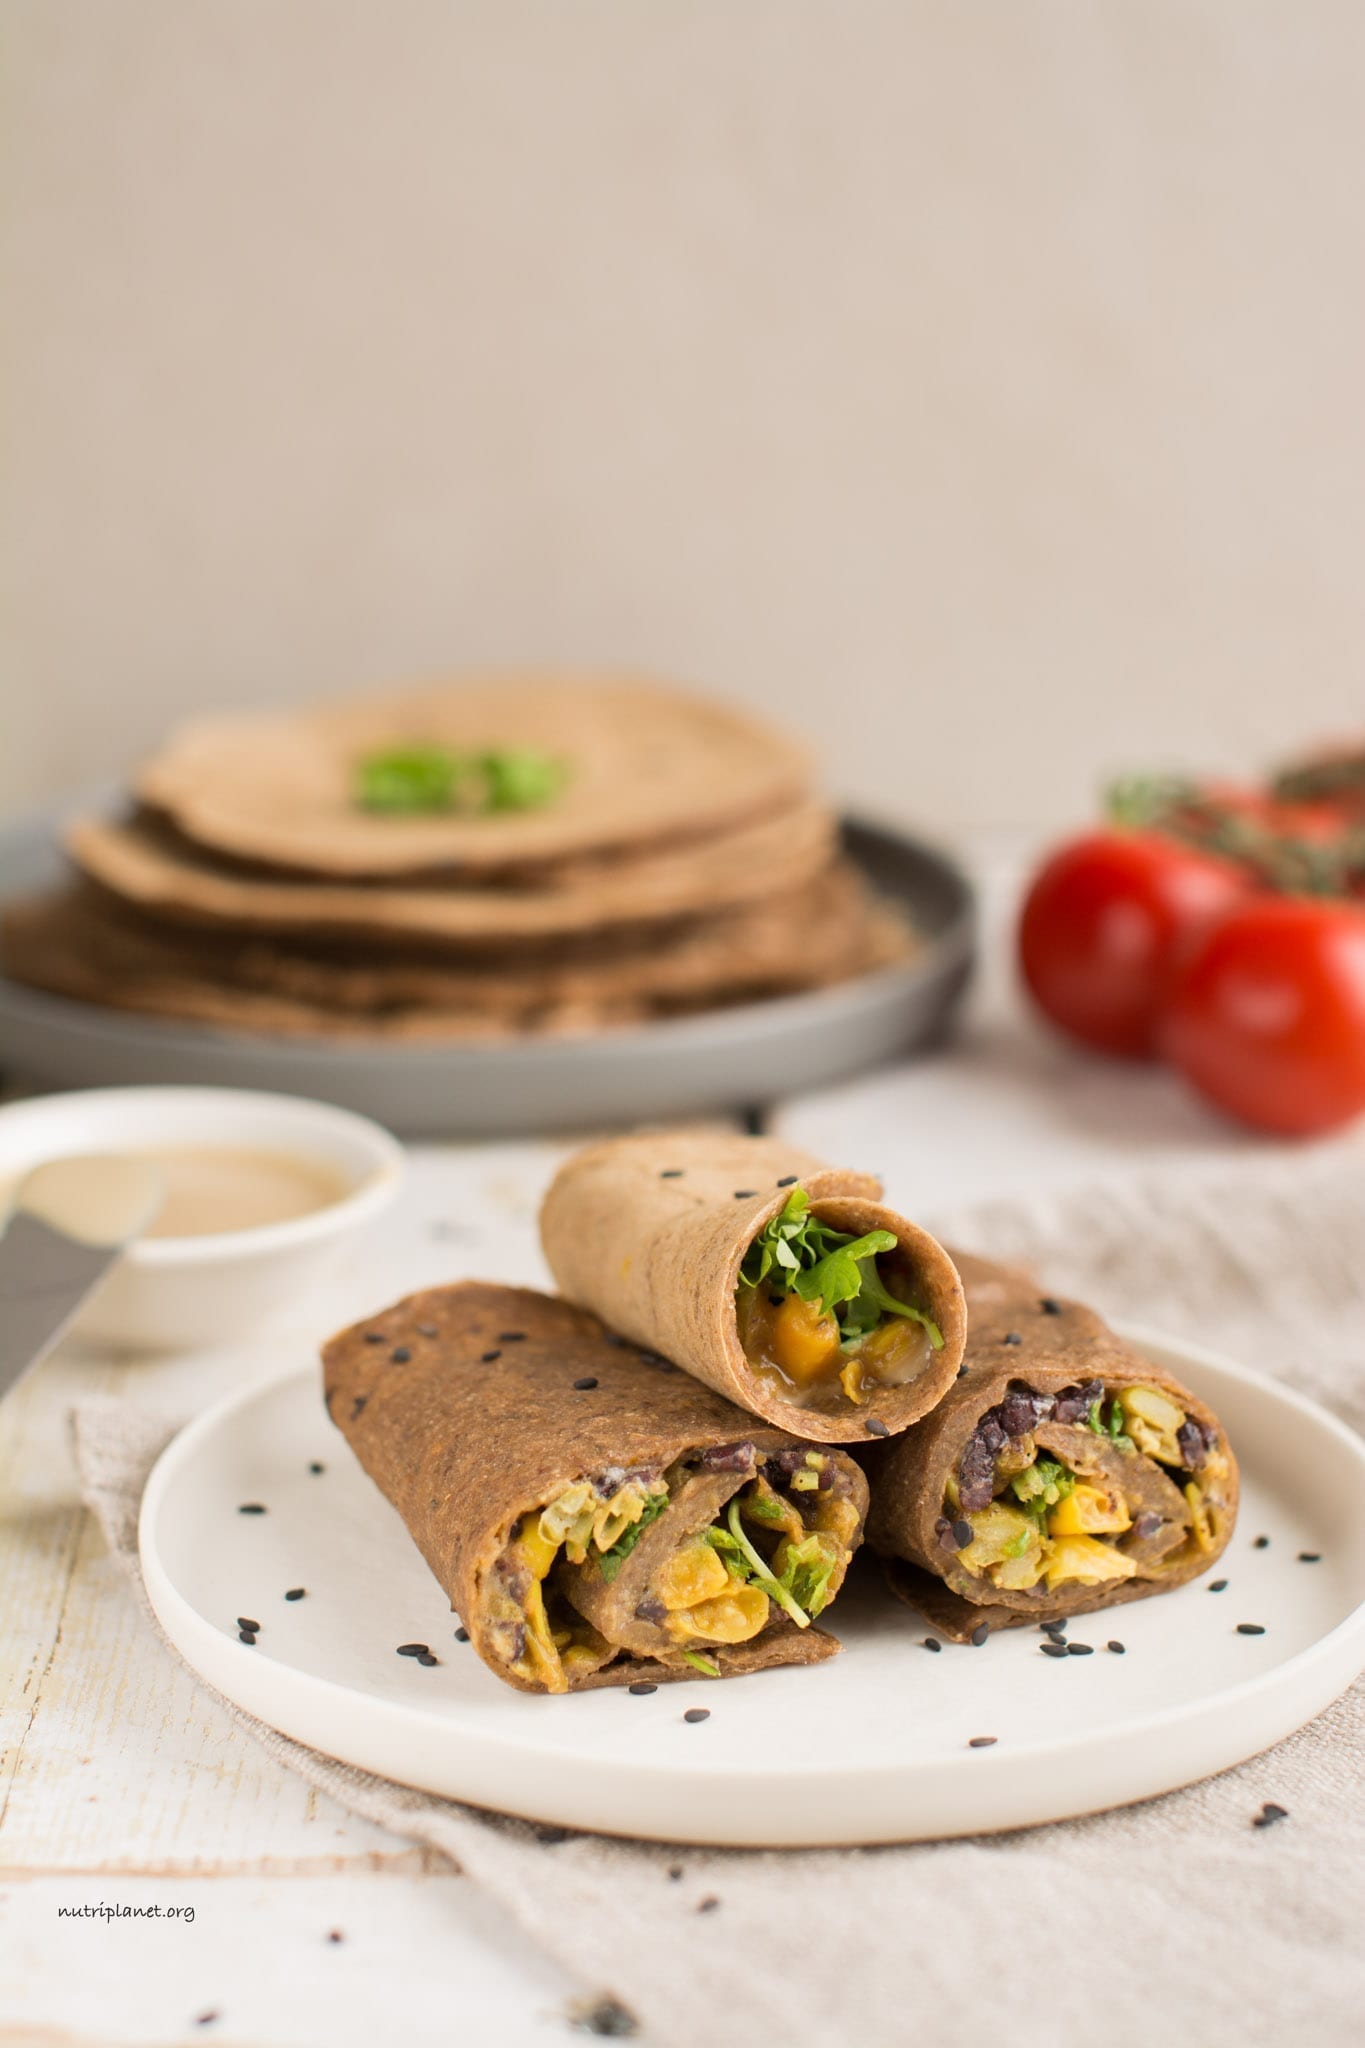
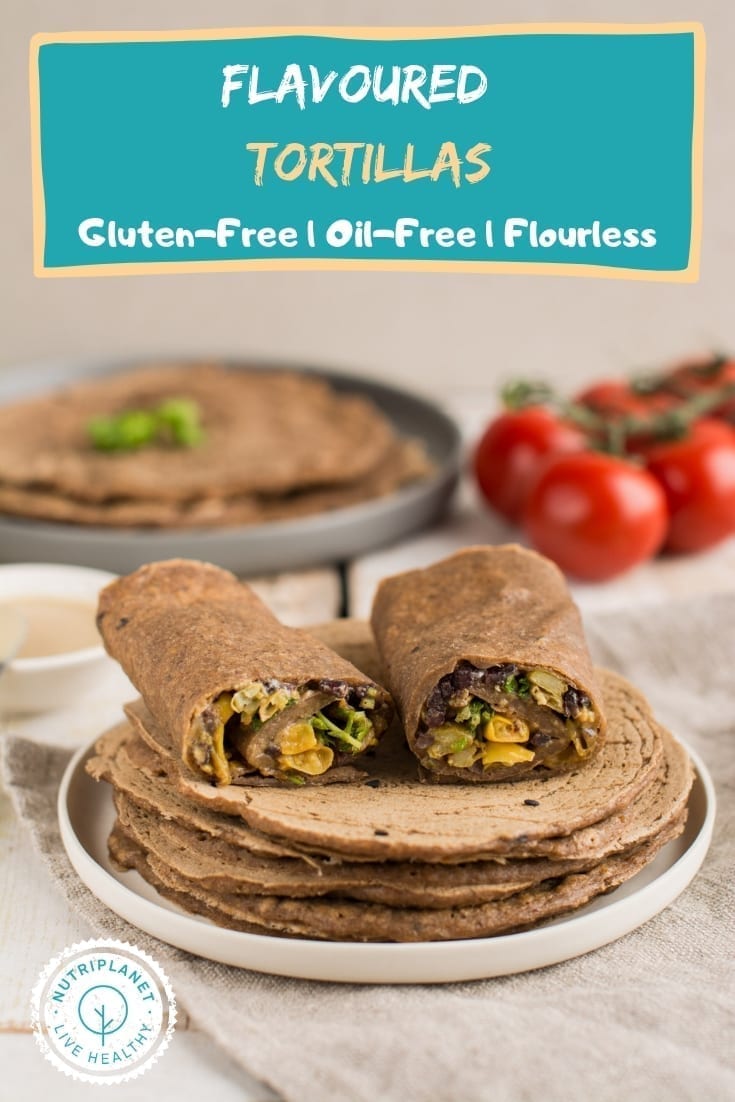
Try those healthy oil-free Mediterranean flavoured gluten-free tortillas made with soaked buckwheat instead of flour. They bend well without breaking – perfect for making wraps, tacos, enchiladas or quesadillas.
Why make your own tortillas when you can easily get store bought gluten-free flour tortillas? Well, those tortillas usually contain corn flour, corn-starch, tapioca starch and/or brown or rice flour, which all have quite high glycemic load. Additionally, you’d find yourself consuming cirtic acid, added oils, yeast, xanthan gum and/or guar gum (many people don’t tolerate those) and too much sodium (twofold of the recommended upper limit).
So, store-bought is not a perfect option, especially for those on Candida diet or those trying to keep their blood sugar stable. With my gluten-free recipe you’ll also avoid baking soda, which often is included in conventional recipes.
Definitely scroll through the whole post as besides the recipe itself you’ll be able to read about:
- Soaked grains vs. flours
- Tortillas vs. wraps
- Tips on the tortilla recipe
- Ways to eat those gluten-free tortillas
- Storage tips
Soaked Grains vs. Flour
So, why do I always insist on (whenever possible) flourless bread, muffins, pancakes, crackers, porridge, sourdough and now even tortillas? That’s because I always aim to soak my lentils, beans, grains, nuts and seeds before cooking/eating. I never get tired of repeating that soaking:
- reduces phytic acid, tannins and glycemic load,
- encourages the production of beneficial enzymes,
- makes the proteins more readily available, and
- increases the amounts of vitamins, especially A, C and B vitamins.
After all, you can’t really soak flour, can you?
You could even go further and sprout the buckwheat before cooking as sprouting reduces the glycemic load even further (carbohydrates diminish and the content of protein and soluble fibre increases).
Wouldn’t it be easier to whip up flour tortillas? Not really, because with my gluten-free tortillas recipe you can forget about rolling pin, tortilla press and rolling the dough into ball. Instead, you only need a blender and pan or baking sheet. The only thing you need to keep in mind is putting buckwheat groats to soak in time, but the process itself is passive from your side. Furthermore, if you bake those tortillas in oven, you considerably decrease the active prep time.
Tortillas vs. Wraps
In case you’re new to tortillas, you might wonder what’s the difference between tortillas, wraps, tacos and flatbread. I know it can get quite confusing at times!
Some names refer to ready dishes and some to flatbreads of different sizes. Flatbread itself is actually an umbrella term for tortillas, pita and lavash.
So, to make this clear – you use tortillas, pita and lavash (all flatbreads) to make the following (tortilla-based) dishes:
- Wraps – a soft flatbread rolled around a filling.
- Burritos – traditionally a large wheat tortilla wrapped around a filling. Well, basically… wraps J I guess you can use buckwheat tortillas and still call it a burrito.
- Tacos – a smaller tortilla folded around a filling.
- Quesadillas – cheese-filled and heated tortillas.
- Enchiladas – typically corn tortillas wrapped around a filling and covered with chilli pepper sauce.
- Tostadas – crispy fried tortilla topped with variety on ingredients.
- Chilaquiles (new to me as well!) – fried tortilla strips topped with spicy tomato sauce and cheese. So, cut your flavoured gluten-free tortillas into strips, oven-toast them and add the spicy sauce and vegan cheese. (Source)
To sum it up, call your creation however you like, it’ll still taste amazing 🙂 The main thing is to keep yourself happy!
If I needed to summarize all the good qualities of my flavoured gluten-free tortillas, I’d say the following:
- Uber-healthy and gut-friendly because of soaked buckwheat.
- Super easy to make.
- Heavenly Mediterranean (pizza) flavours from oregano, garlic and sundried tomatoes.
- A nice hint of cheese from nutritional yeast.
Let’s move on to the dietary restriction keyword bundle! Besides being gluten-free, my tortillas are also:
- Low-fat
- Nut-free and peanut-free
- Soy-free
- Candida diet friendly (including the cleanse)
- Flourless
- Blood sugar friendly
Finally, I’d love to read your thoughts on tortillas or anything related! Maybe you have some additional tips or wisdom to share? Leave a comment below! Please tag me in social media whenever you try one of my recipes! I’d love to see your creations! Instagram @thenutriplanet and Facebook @nutriplanet.health.hub
Print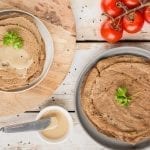
Flavoured Gluten-Free Tortillas
- Total Time: 45 minutes
- Yield: 14 medium sized tortillas (14cm, 5.5inch diameter) 1x
Description
Try those healthy oil-free Mediterranean flavoured gluten-free tortillas made with soaked buckwheat instead of flour. They bend well without breaking – perfect for making wraps, tacos, enchiladas or quesadillas.
Soak time: 4 – 6 hours
Ingredients
- 200g (7oz) buckwheat groats
- 230g (8.1oz) water
- 1 tbsp. + 1 tsp. ground chia seeds (grind yourself)
- 1 tsp. dried oregano
- ¼ tsp. garlic powder
- ¼ tsp. Himalayan salt or sea salt
- Dash of black pepper
- 1½ tbsp. nutritional yeast
- 2–3 unsalted sundried tomato halves
Instructions
THE BATTER
- Start by soaking buckwheat groats overnight or at least 4-6 hours.
- Now that you have the soaked buckwheat, rinse and drain it well before pouring into blender or mixing beaker.
- Next, add all the other ingredients (except tomatoes) and process the ingredients into smooth batter. Use regular or immersion blender.
- Finally, blend in the tomato halves – if you use the dry ones, soak them in hot water for 5-10 minutes. Whether you prefer them fully incorporated or with some chunks is up to you! Don’t leave too big chunks though as they’d stick out from your thin tortillas.
FOR FRYING
- Pour 1-2 tablespoons of batter (depending how large tortillas you want to make) onto hot non-stick pan and spread it out into as thin circle as you can.
- Once it’s cooked on top, flip the tortilla over and fry for another minute or so. Then, place the tortilla on cooling rack and repeat until the batter is finished.
- Swipe the pan clean with slightly oiled kitchen paper between the tortillas. You can use coconut oil, olive oil or avocado oil.
FOR BAKING
- Heat oven to 190°C (375°F).
- Pour some batter on a baking sheet lined with parchment paper and shape your tortillas with circular movements. How round-shaped you get them depends on your skills and practice.
- Bake them for 7-8 minutes and let cool before you try to separate them from the paper – you’ll need some patience, but they definitely come off in the end (check the video!).
Notes
One tortilla has 5.3 GL points.
- Prep Time: 30 minutes
- Cook Time: 7 – 10 minutes, cooling time: 5 minutes
- Method: Frying or Baking
Nutrition
- Serving Size: 1/14 of the recipe
- Calories: 55.4 kcal
- Sodium: 18.7mg
- Fat: 0.7g
- Carbohydrates: 8.94g
- Fiber: 1.88g
- Protein: 2.36g
Tips on my flavoured gluten-free tortillas recipe:
- Sprout buckwheat for even healthier tortillas.
- Always grind your own chia seeds and store in a sealed container or glass jar in the fridge.
- Alternatively, use 2 tablespoons of ground flax seeds instead in chia seeds.
- By all means, if you like the flavour of oregano, garlic powder, black pepper and/or nutritional yeast, add as much as you like!
- Should you be on Candida cleanse, ditch nutritional yeast and add a bit less water (about ½-1 tablespoon, 7.5-15ml).
How to eat those gluten-free tortillas
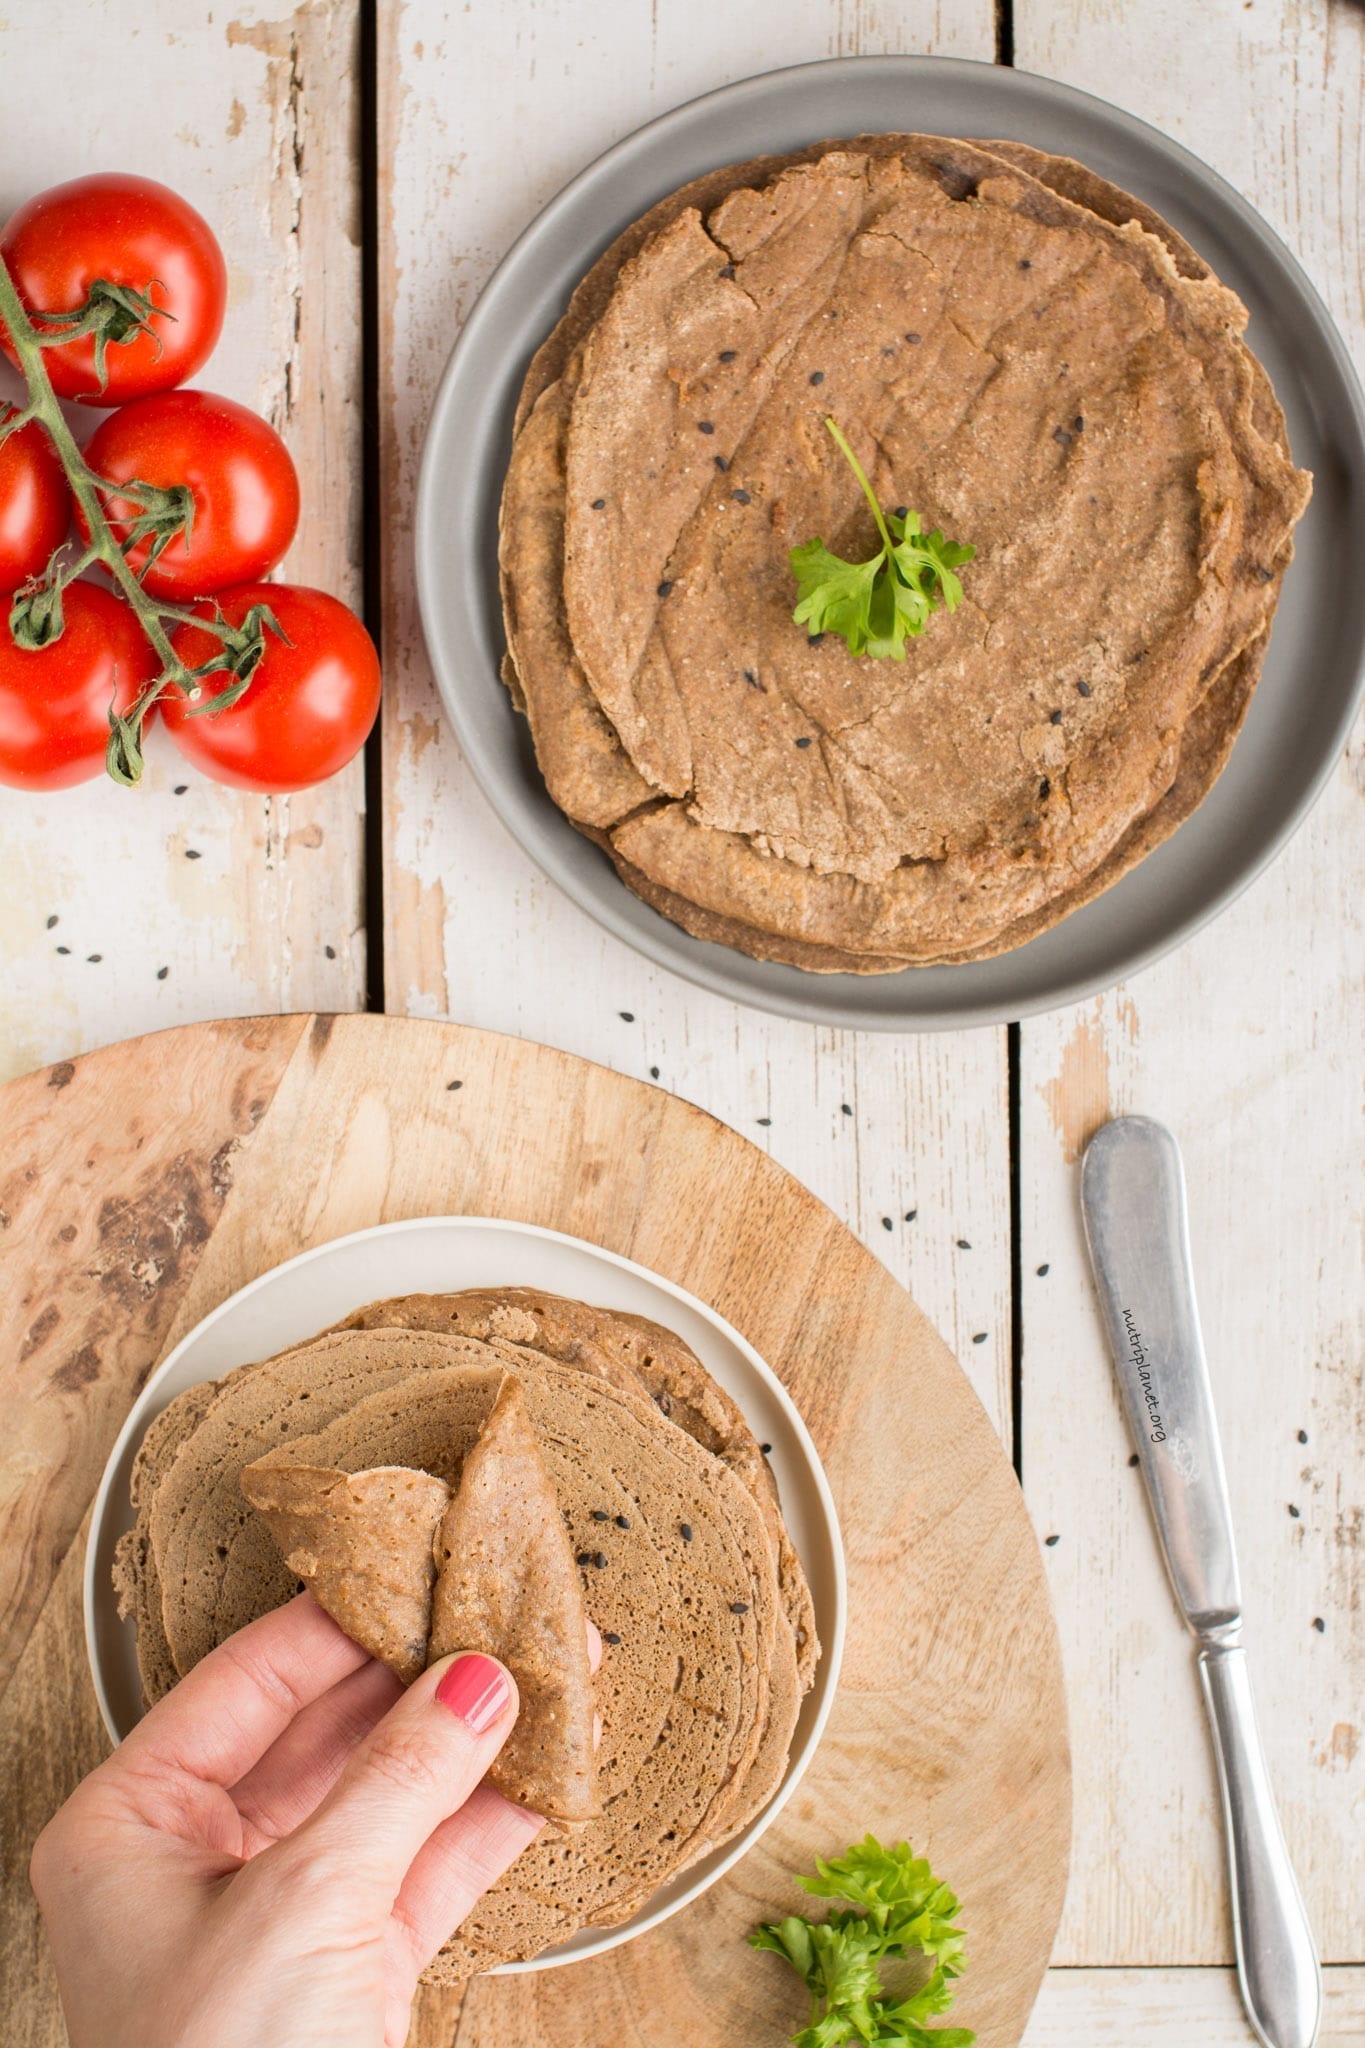
- Eat as is with your main meal or as a snack.
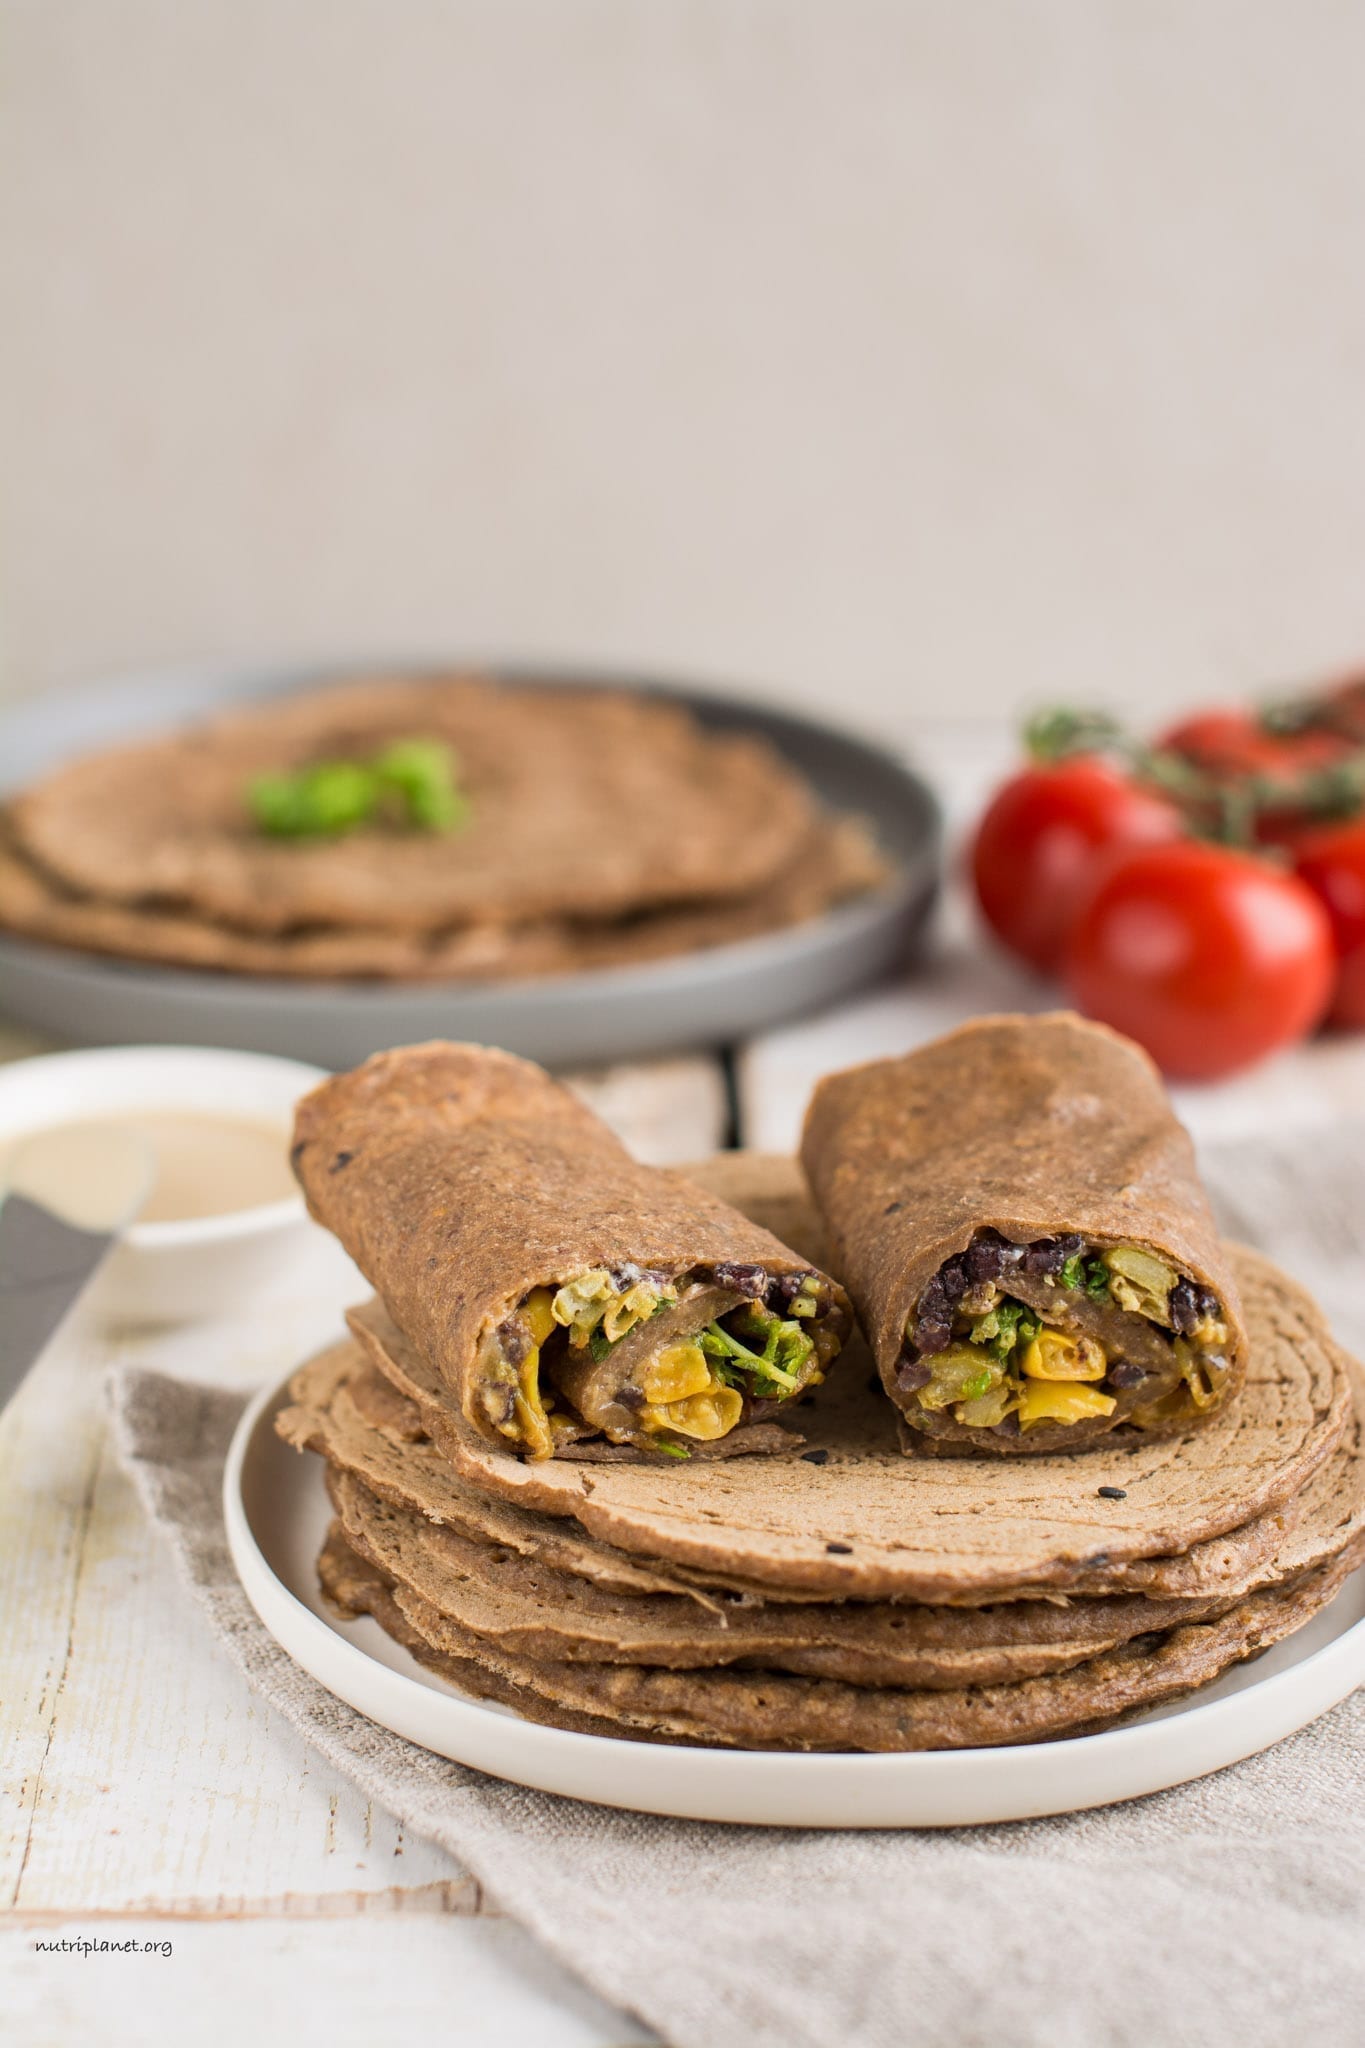
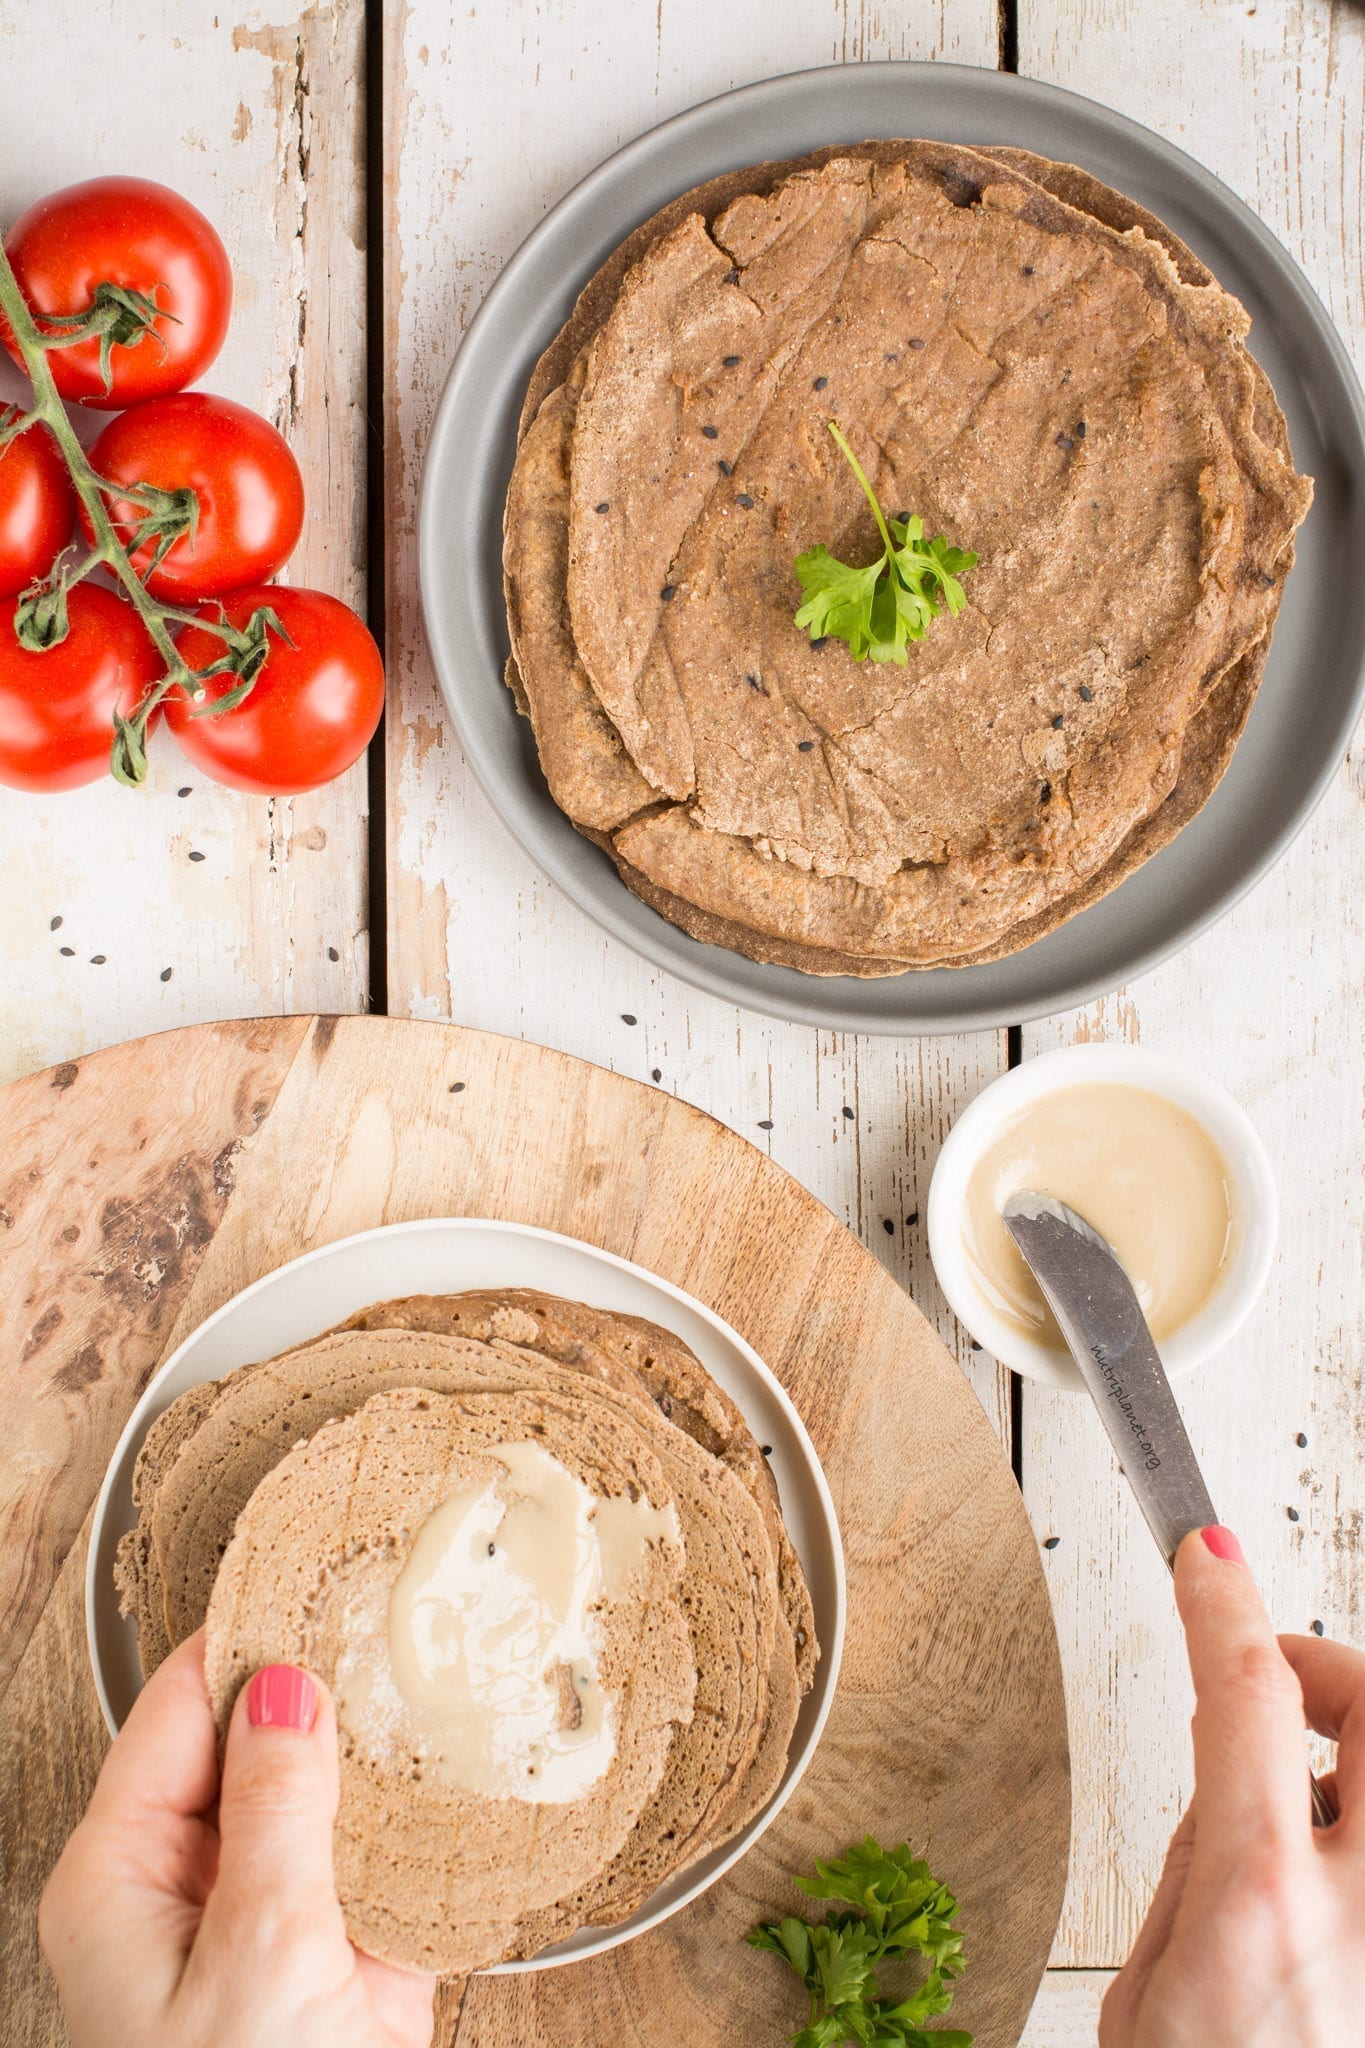
- Use them to make wraps, tacos, and/or burritos. Spread some hummus, creamy spinach dip, tahini (or any other nut or seed butter), vegan “egg” spread or plant yogurt on the tortilla and fill it with leftovers (cooked rice or quinoa, stews, curries etc.), tofu or tempeh, steamed leafy greens (kale, chard, collard greens, pak choi), lettuce, grated raw veggies (carrots, cabbage, turnip, sauerkraut, kimchi) or oven roasted veggies (onions, bell pepper, mushrooms, fennel, eggplant, summer squash, cauliflower etc.).
- Drizzle some tahini-chickpea dressing, hot tomato sauce, homemade tomato pasta sauce or any other preferred dressing and you’re ready!
How to store tortillas
- Store in a sealed container in fridge for up to 4-5 days. You can eat them out of fridge as they are or heat them up in oven for crispy result.
- For longer storage, wrap the tortillas individually (e.g. in parchment paper) and put into freezer. Heat them up in oven or microwave oven whenever needed.
Disclaimer: this post contains affiliate links.


I thought nutritional yeast was a no no when you have Candida overgrowth?
Hi! Yes, if you’re in the cleanse phase. This is why I added under tips: Should you be on Candida cleanse, ditch nutritional yeast and add a bit less water (about ½-1 tablespoon, 7.5-15ml).
Ha! I didn’t see that. Thank you for clarifying ?
My pleasure! ?