Learn how to make gluten-free no starter fermented buckwheat bread. Furthermore, it is Candida diet friendly and sugar-free.
I’d been thinking of making a tutorial video of my fermented gluten-free buckwheat bread for some time. However, only now did I finally manage to film, edit and upload it for you to enjoy.
This buckwheat bread is undoubtedly my favourite bread of all times. That is both in terms of the taste/texture as well as the recipe. The reason is that my fermented gluten-free buckwheat bread is vegan, oil-free, sugar-free, yeast-free, dairy-free, Candida diet friendly and a no-knead recipe. The making takes a bit of time, but it’s mostly inactive. you can mind your own business while the buckwheat groats are soaking, the batter is fermenting or the bread is baking and cooling. The best part is that the recipe is actually easy to make. It’s quite impossible to fail if you follow the recipe and don’t use metal bowl for fermenting and/or metal spoon for mixing already fermented batter. I especially like the no-knead part of this recipe as I have never enjoyed kneading a dough ball for 10 minutes at a stretch.
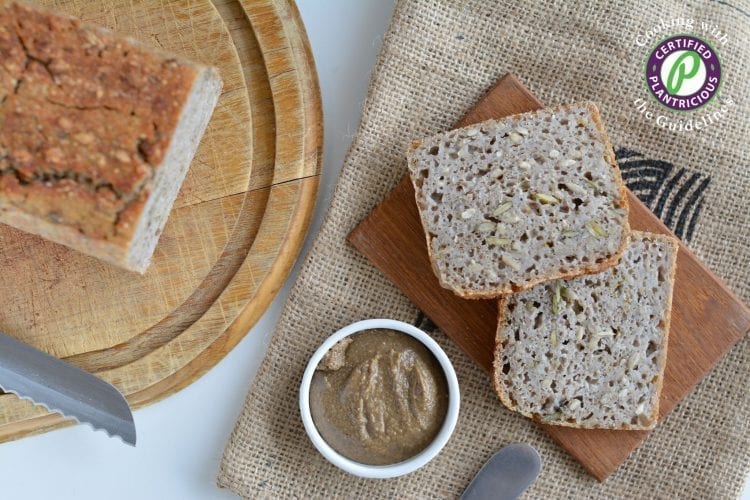
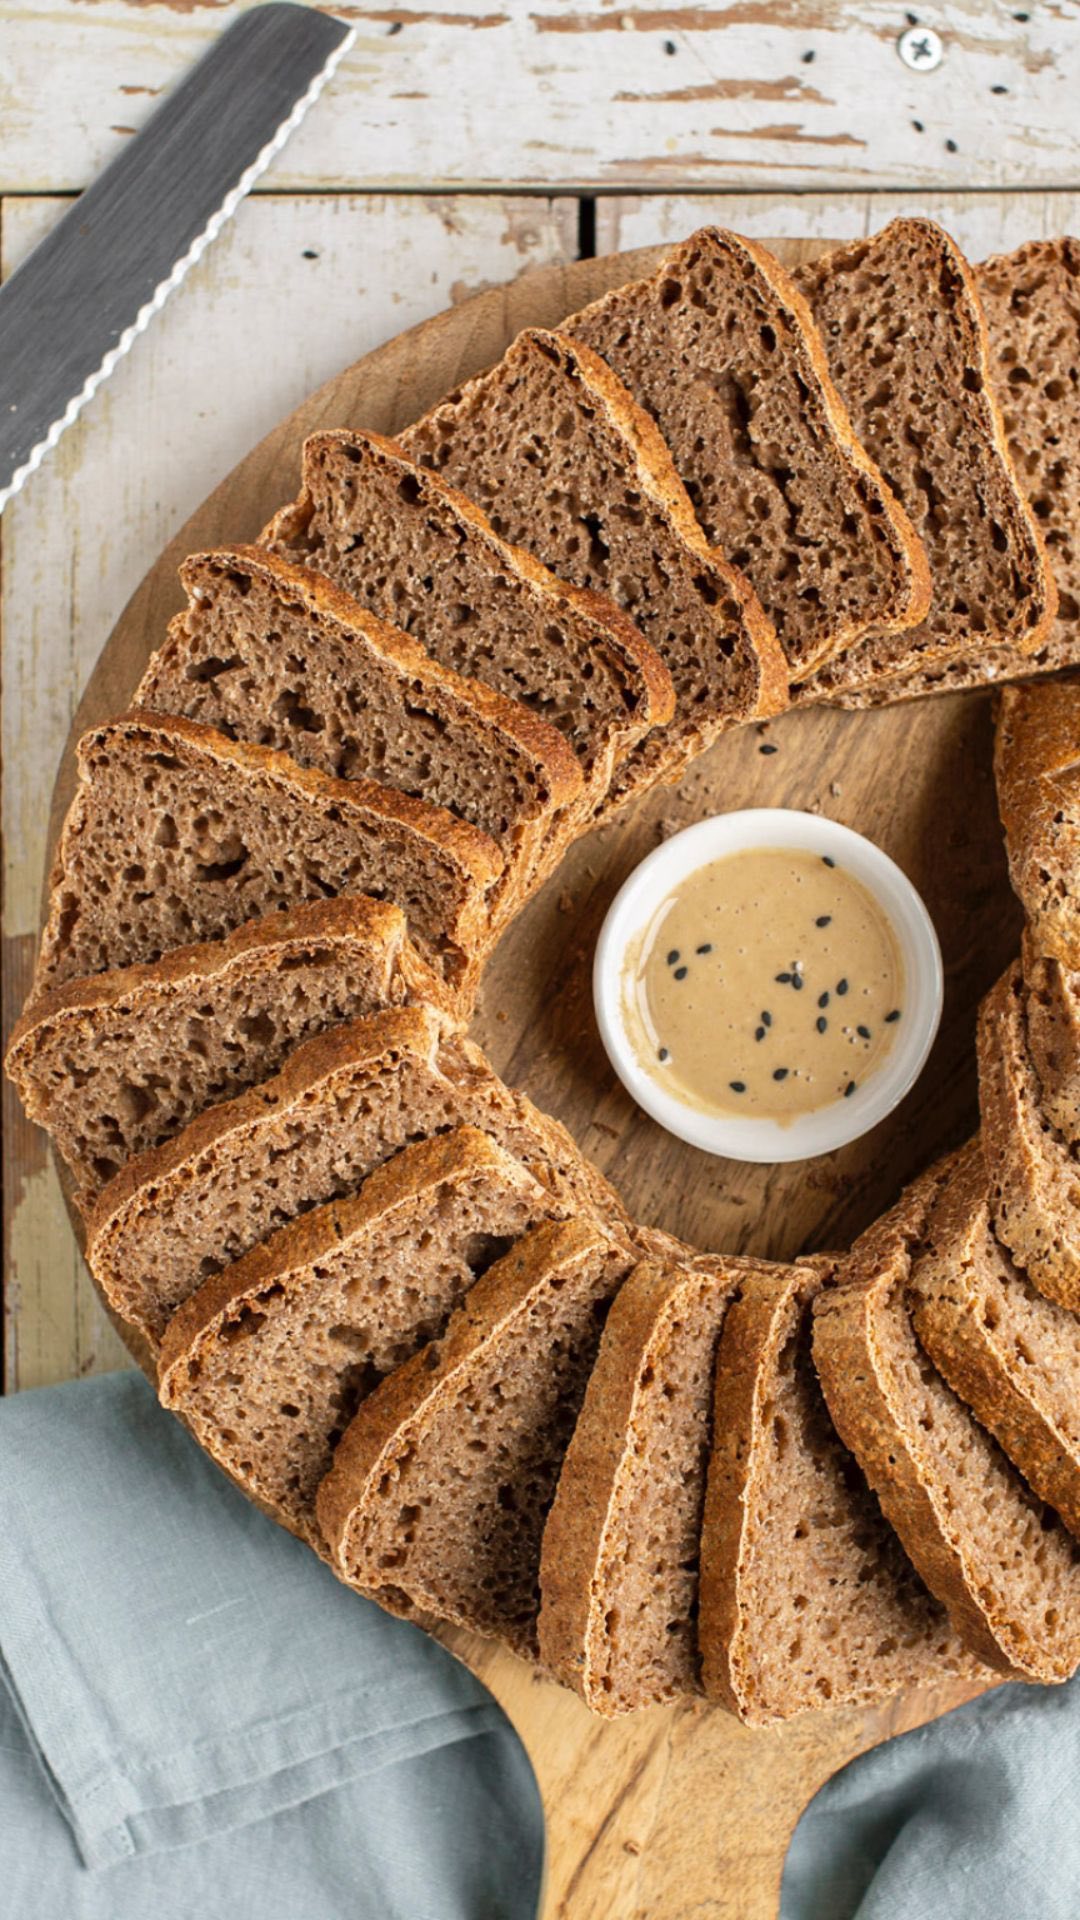
Furthermore, the recipe is totally worth the effort! Imagine taking the fresh bread out of the oven and cutting into it after it has cooled down. It’s heaven! Spread a little bit of tahini or any other nut or seed butter onto your fermented gluten-free buckwheat bread slice. For crunchiness, add some fresh cucumber and/or tomatoes, sprinkle with black pepper and you are ready to enter the gastronomic heaven.
Should you be interested in reading a bit about buckwheat and getting the recipe in writing, go to my Fermented Buckwheat Bread recipe blog post. I wrote it some years ago when I first started to make this delicious bread. After all, it’s easier to follow the quantities from a written recipe rather then watching a video when you actually start making the bread.


Hi Nele I am really looking forward to trying your buckwheat bread recipe, I have a couple of questions if you don’t mind.
I am going to use pre-fermented, sprouted buckwheat groats, so Q1 can I reduce the soaking time from 7 hours to say 1 hour? I expect I need to experiment with this, but it would good to have your view.
Q2 Steps 3 &4 do you leave the oven on at 35 degrees C for 7 hours or merely warm it to 35C, put the batter in and leave it with oven turned off?
thanks so much I am also looking forward to trying your other recipes best wishes Claire, London
Hi Claire!
I have no experience with pre-fermented buckwheat sprouts. However, I’d wait until the batter turns bubbly (when you see small bubbles in it) and is risen a bit. It has to be kind of fluffy when you mix it (see the video).
I leave the oven on 35-40 degrees for the whole 7 hours, i.e. I do not turn it off.
Do let me know how it turned out! All the best!
Hi Nele 😀 it looks good recipe! What is Expire day from making day?
3~4 days? or can freeze and put toaster still good taste?
Hi there! I have kept it on countertop for up to 2 days. However, it’s best to slice it already when it has cooled and put into freezer where it keeps for months. Then you just heat the individual slices in toaster, in over or in microwave. And it is like fresh!
How does your parchment peel so easily! I have made this bread about 6 times now (yummy!) But the paper sticks horribly.
Hi Rebecca!
I’m glad you like the bread!
I think it must be the paper. I remember I once bought a paper I normally don’t use and it also stuck a bit. Do you let the bread cool down before you try to remove the paper?
Probably not letting it cool long enough. That would be crazy if the paper required oil, since that seems to be the point–not using it–as Nele says. I’ll try to be patient enough to wait a full 30 minutes to peel next time 🙂
That must be it Rebecca! Be patient! 🙂
Hi I would check whether the parchment paper needs greasing or not, the one I buy (a round shape) for the base needs greasing (I’m using avocado oil, works very well, but I suppose anything else would work just as well). I cut another round strip of paper to go round the sides of the pan that I use, and that paper does not require greasing and works better without it, but I still grease the sides of the pan. Hope that makes sense and helps.
PS the great about this bread is that you can’t go wrong, it’s always edible. I have found it’s really a good idea to leave it to prove again after blending, and before proving in the oven. Really enjoying this bread, so thanks Nele.
I use parchment paper that doesn’t need greasing. I have never greased it 🙂 To me it’s the whole point of parchment paper — not to use oil 🙂
I just wanted to say, THANK YOU SO MUCH FOR THIS RECIPE! This has pretty much saved my life while being on the candida diet and being vegan. I have had it for breakfast every morning for 2 months straight!
Have you tried making pizza crusts from this mix? I’m going to give it a try next week, but I was curious if you’d experimented with it.
Hi!
I’m super happy that you like it 🙂
No, I haven’t tried making pizza crust with it. However, to make a pizza crust there is no need to ferment the batter unless you want of course 🙂 Definitely let me know if you try it!
Hi! I have tried to do this bread now two times, but every time it doesn’t mature inside. I even keep it in the oven more than 2 hours. There is a hard crust on the bread that doesn’t let it to cook inside. What I am doing wrong and why it does’t mature?
Hi there!
The only thing I can think of is that the dough must be too runny. Just in case I walk you through the procedure:
Take 425 grams of buckwheat groats and soak them for 6-8 hours. Then rinse and drain carefully (it’s important to discard the soak water). Next, blend the soaked groats with 300 grams of water, pour into a plastic or glass bowl, cover with plastic and let ferment in a warm place like 35C oven for about 7 hours. It takes about 16 hours at room temperature. Mix salt and other desired spices/seeds into the batter (using wooden or plastic spoon) and pour into bread loaf lined with parchment paper. Cover with clean kitchen cloth and let ferment for another hour or two. Put the bread into oven, turn it to 175C and it’ll be done after 1 hour + the time it takes your oven to heat itself up (mine takes 10 minutes, so I always set the time to 1 h 10 min). Make sure not to set the oven to grill or quick heating mode as it’d burn the bread.
I hope we can get to the bottom of it!
Thank you! Know it really worked. I think the problem was too short fermenting time. Best bread ever!
I’m so glad! 🙂